How to Compress for UPSC: Photo & Signature Under the Required KB Size
P
Pushpam AbhishekFounder & Lead Developer
📅 Published: Sep 21, 2026
⏱️ 15 min read
👁️ 10 views
Compress for UPSC
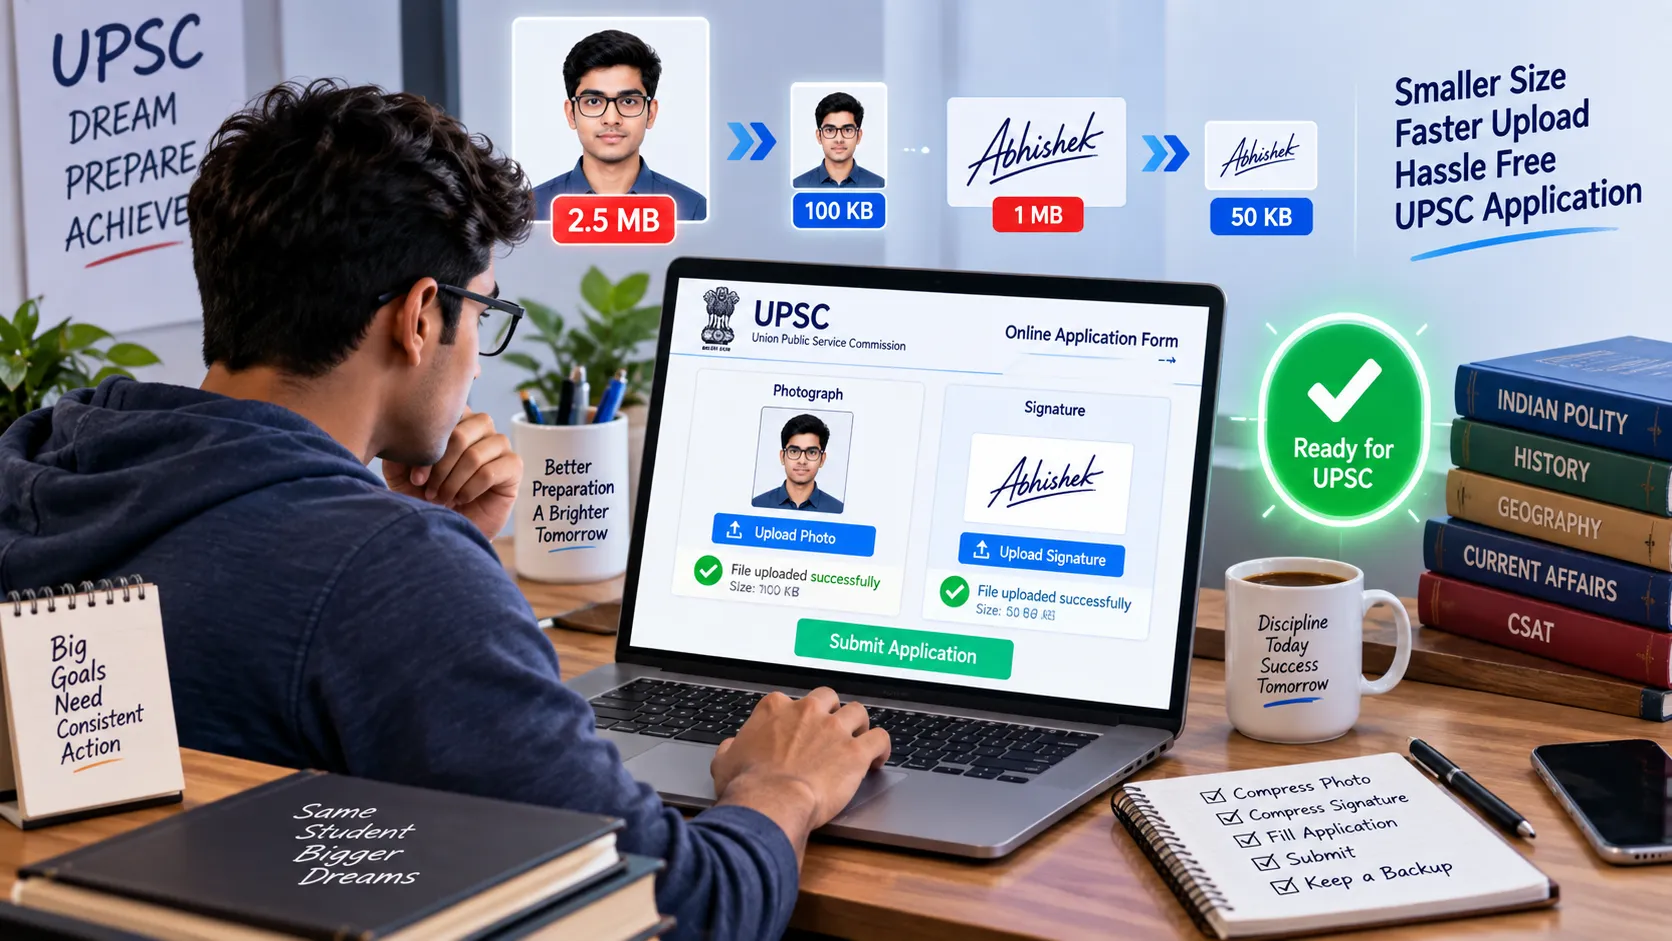
You have spent months preparing for the Civil Services Examination, and then a simple "file size too large" error stops your application at the last step.
This is why learning how to compress for UPSC is one of the most practical skills an aspirant can pick up before filling the form. The UPSC portal accepts only images within strict size, format and dimension limits, and a wrong upload can cost you time, money and even an attempt.
In this guide, you will learn the exact requirements, the step-by-step compression process, and the mistakes to avoid.
UPSC Photo and Signature Size Requirements (2026)
Before you compress anything, you need to know your target. The Union Public Service Commission accepts applications only through its official online portal, and that portal checks every upload against fixed limits.
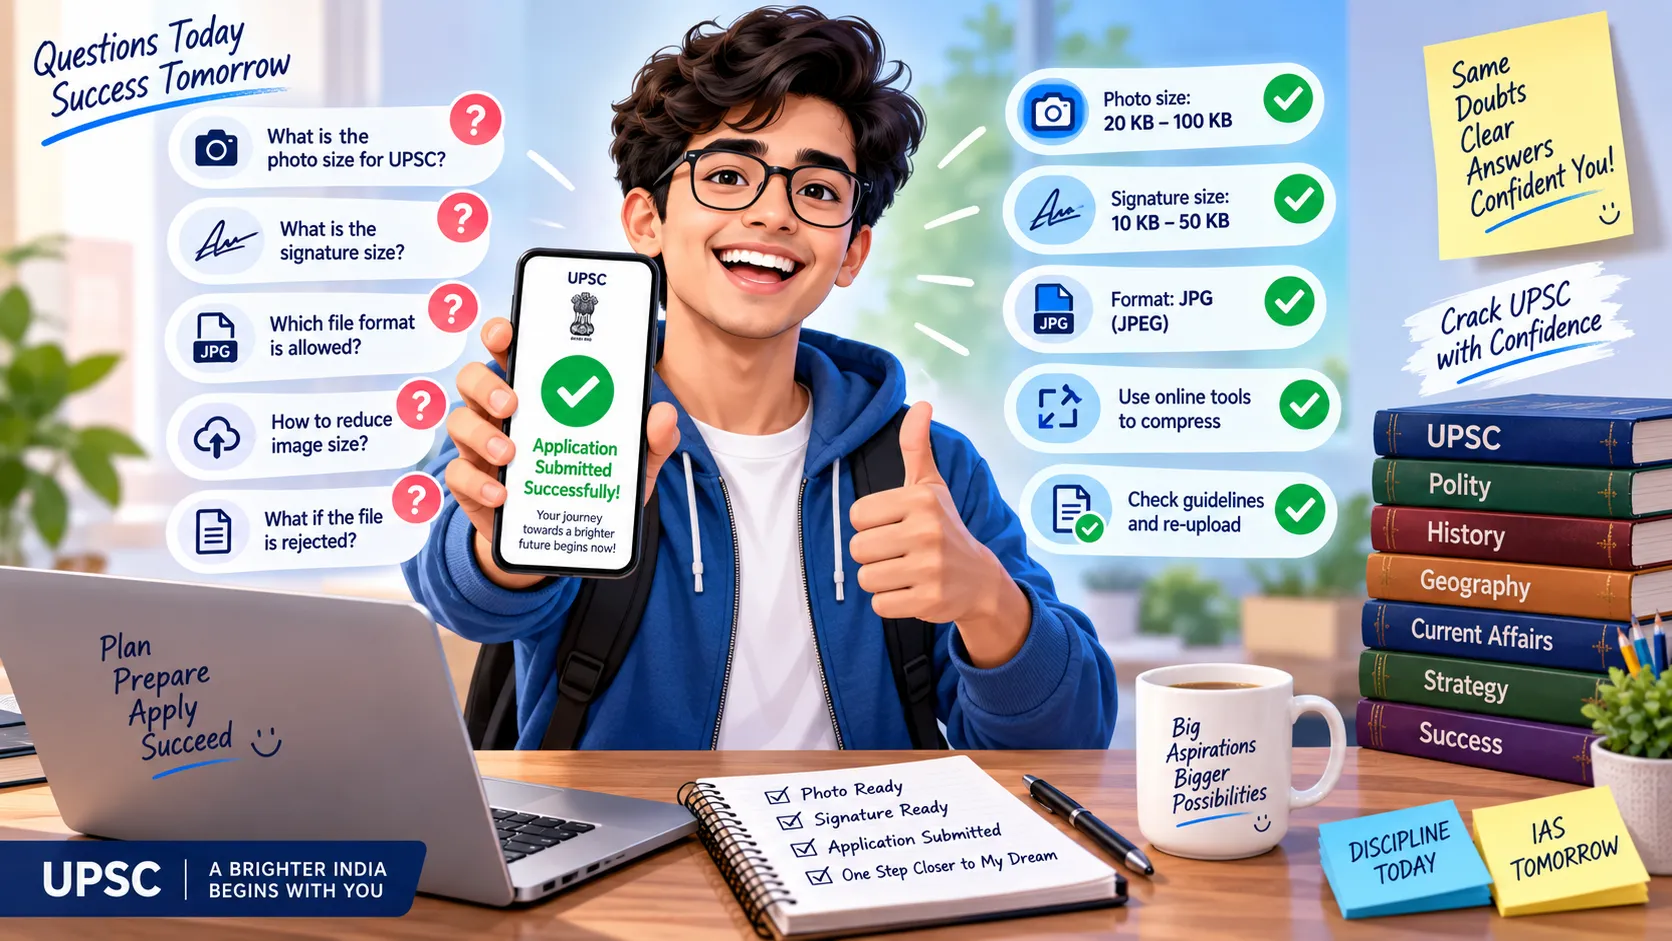
UPSC photo size 20-200 KB
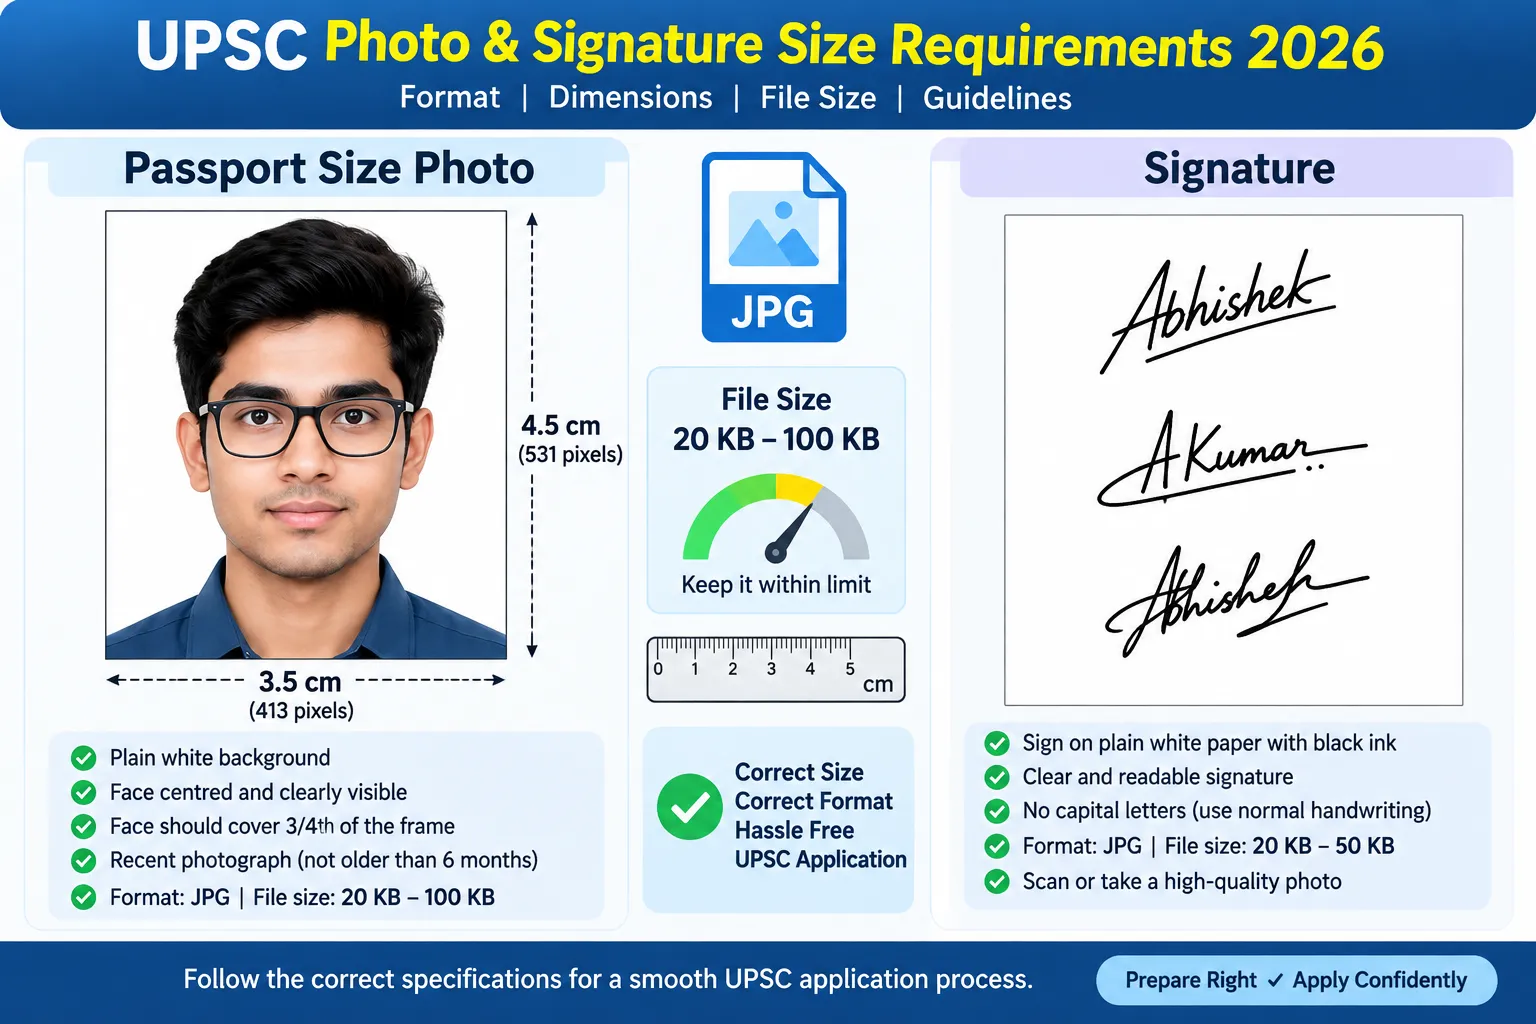
As per the guidelines published for the 2026 cycle, the photograph must be a colour JPG file between 20 KB and 200 KB, taken recently against a plain white background. The face should cover roughly three-fourths of the frame, the candidate should look straight at the camera with eyes open and a natural expression, and both ears should be visible.
The signature must also be a JPG, between 20 KB and 100 KB, written in black ink on plain white paper. The current guidance asks for a triple-signature format, meaning three signatures placed one below the other in a single image, with pixel dimensions in the 350 to 500 range. The files are also expected to be named "photo" and "signature".
Understanding these numbers is the foundation of learning how to compress for UPSC properly, because every step that follows is about landing inside these limits without damaging the image.
The second thing to understand is that these rules are not permanent. In earlier years, aspirants were allowed files up to 300 KB and pixel ranges as wide as 350 to 1000 pixels, and many older blog posts and YouTube videos still quote those numbers. If you follow outdated advice, you may compress a file to a size the current portal rejects.
Always confirm the figures in the latest official notification and on the upload page of upsconline.nic.in before you begin. Another important change in recent cycles is the live photograph step, where the portal asks you to capture a photo through your webcam or through your phone using a QR code, and then matches it with the uploaded picture.
This means your compressed photo must remain a true, unedited likeness of you. Heavy filters, beautification, background replacement with visible edges or aggressive over-compression that blurs facial features can create problems at the matching stage. Compress carefully, keep the face sharp, and keep the original file safe in case you need to redo the process.
Item
Format
File size
Key rule
Photograph
JPG
20 KB – 200 KB
White background, face about 75% of frame
Signature
JPG
20 KB – 100 KB
Black ink, triple signature, 350–500 px
Why You Must Compress Images Correctly for UPSC Applications
The biggest reason to get compression right is that the UPSC application process is unforgiving. Once the form is submitted, there is generally no facility to correct a wrongly uploaded photograph or signature, and a poor upload can lead to rejection or force you to fill a fresh application and pay the fee again.
resize photo for UPSC application
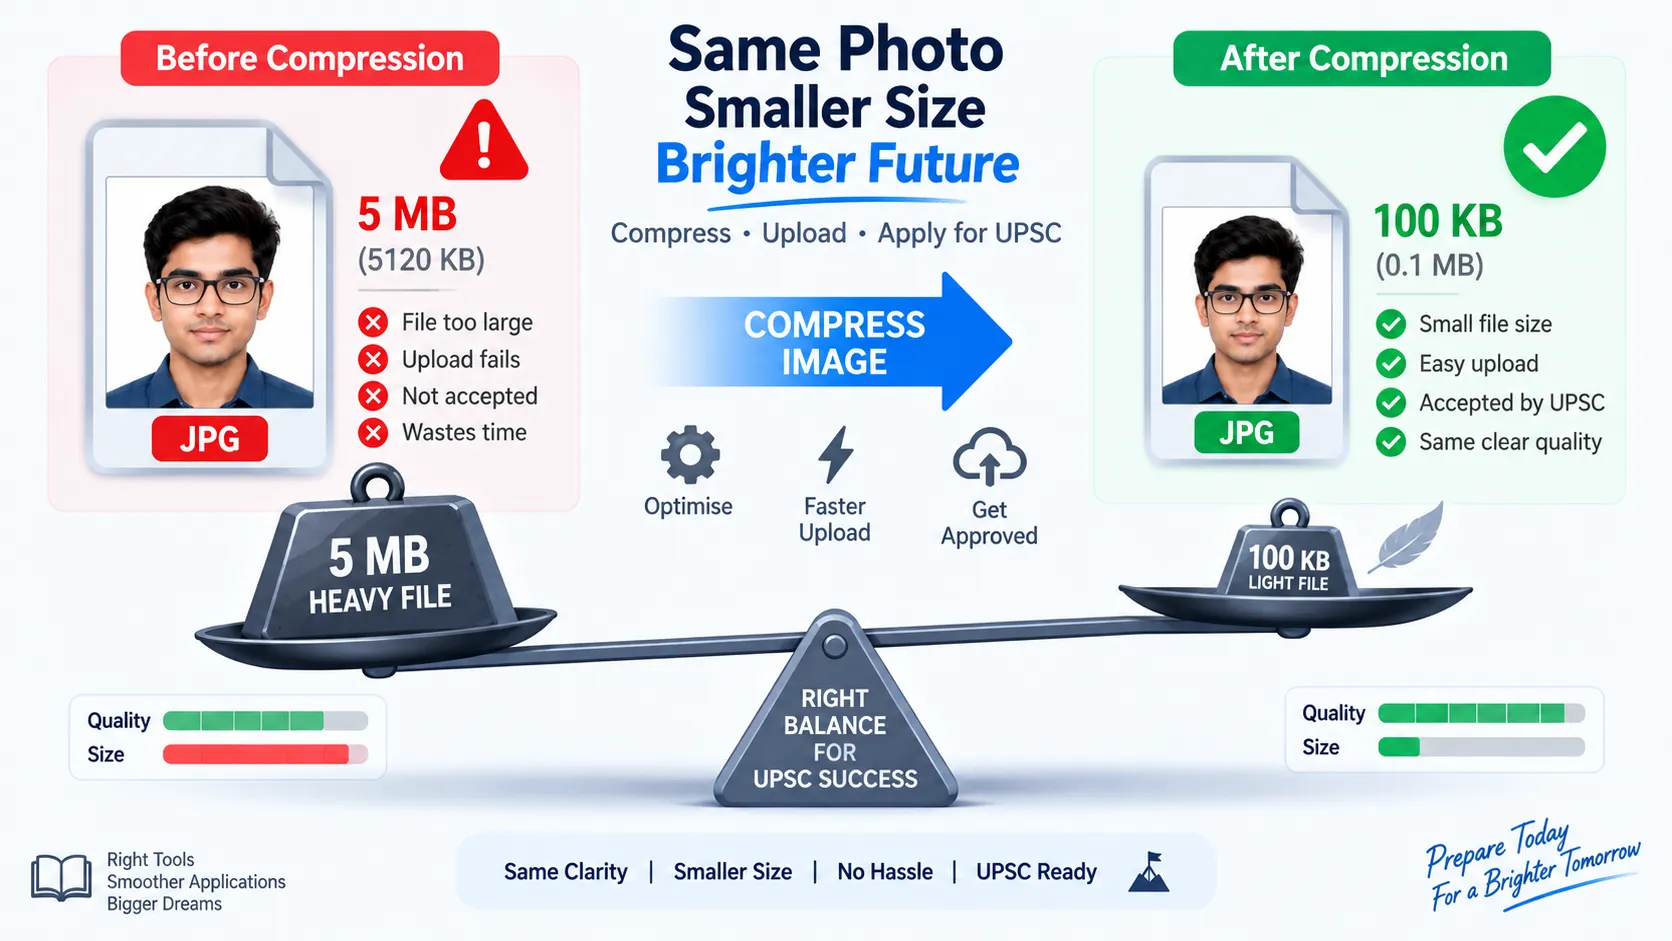
Many candidates lose time simply because they do not understand what compression really does. A photo taken on a modern smartphone is often between 3 MB and 8 MB, because it contains thousands of pixels in each direction and stores fine colour detail.
To reduce it to under 200 KB, a tool must do one or more of three things: lower the pixel dimensions, apply a stronger lossy JPG compression that discards detail your eye barely notices, or strip hidden metadata such as camera information and location data. Understanding these three levers helps you make smart decisions instead of randomly dragging a quality slider and hoping for the best.
The second reason is the lower limit, which many aspirants forget. UPSC does not only reject files that are too big; it also rejects files that fall below 20 KB. If you compress too aggressively, the portal may refuse the upload, and even if it accepts the file, the image may look pixelated, with blocky patches on the face or broken lines in the signature.
A photo that is unclear can also cause trouble later, since it is used for identity verification and appears on your admit card at the exam centre. The best approach to how to compress for UPSC is therefore to aim for the comfortable middle of the allowed range, for example around 100 to 150 KB for the photograph and 40 to 80 KB for the signature, rather than pushing the size to the very edge.
How to Compress Photo for UPSC Online Application Step by Step
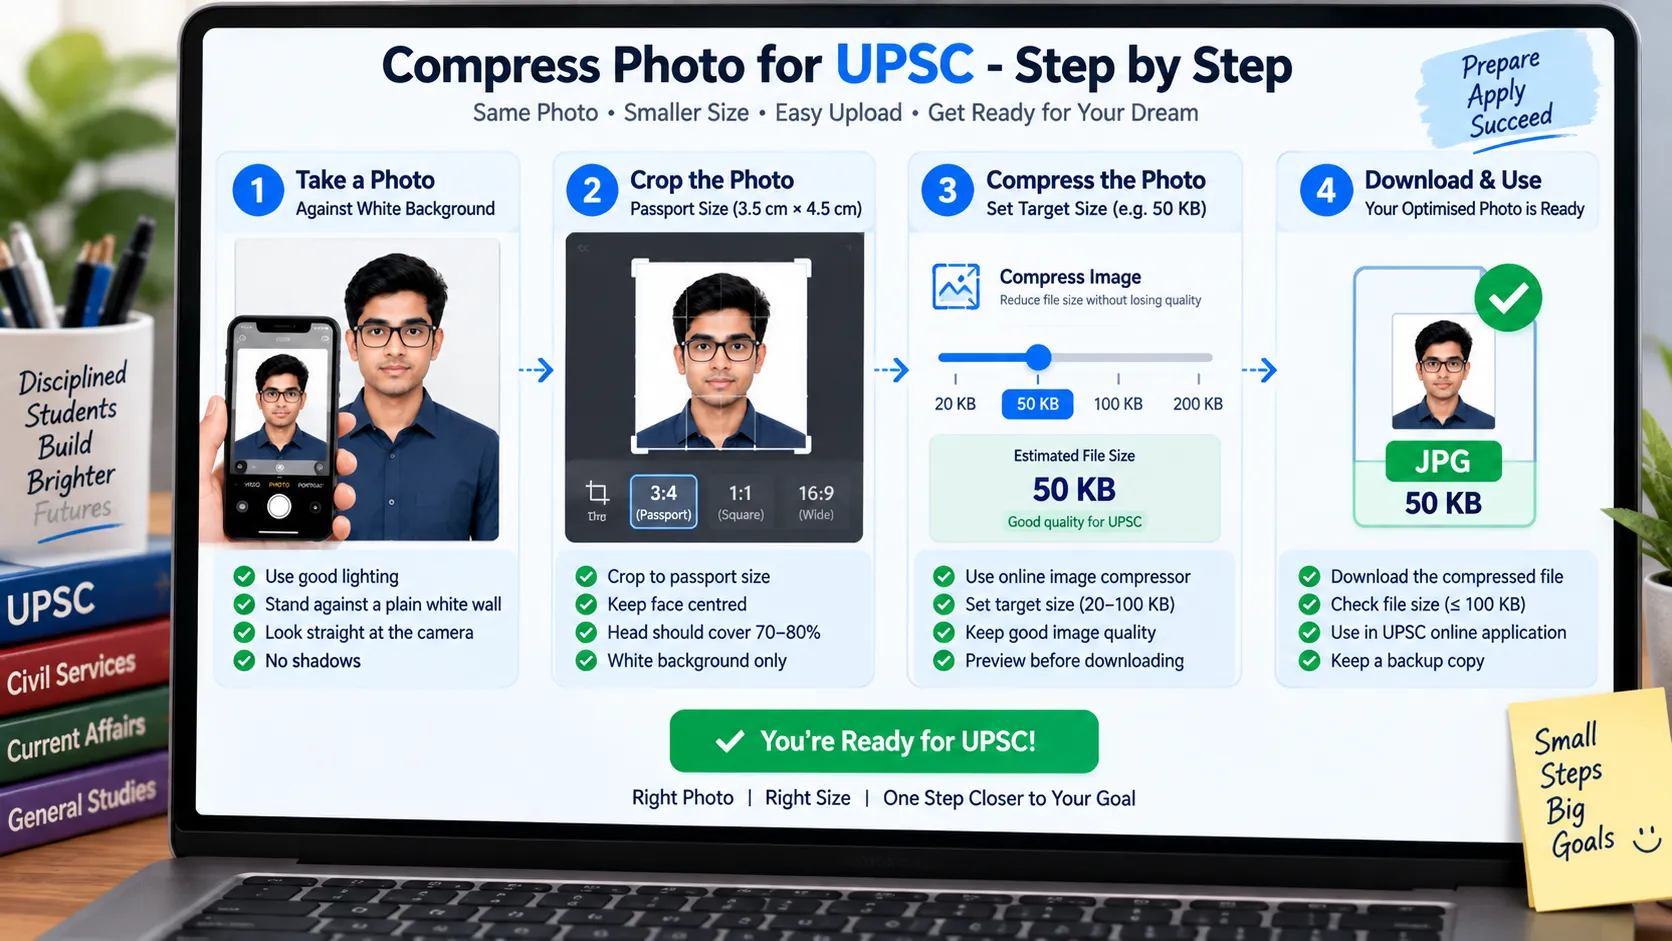
The first stage happens before any software is opened. A good compression result starts with a good original, so take a fresh photograph in natural daylight or bright indoor light, standing in front of a plain white wall and facing the camera directly.
Keep your head centred, keep your eyes open, avoid shadows on the face or the background, and skip sunglasses, caps and glare on spectacles. Ask a friend to take the picture from a distance and then crop it so that your face fills about three-fourths of the frame, in a proportion close to a passport-size photograph.
UPSC image compressor
Do not apply beauty filters or heavy editing, because the live photograph check compares your real face with the uploaded image. Save the picture as a JPG file. If your phone saves photos in HEIC format, which is common on iPhones, convert it to JPG first, because the portal will not accept HEIC.
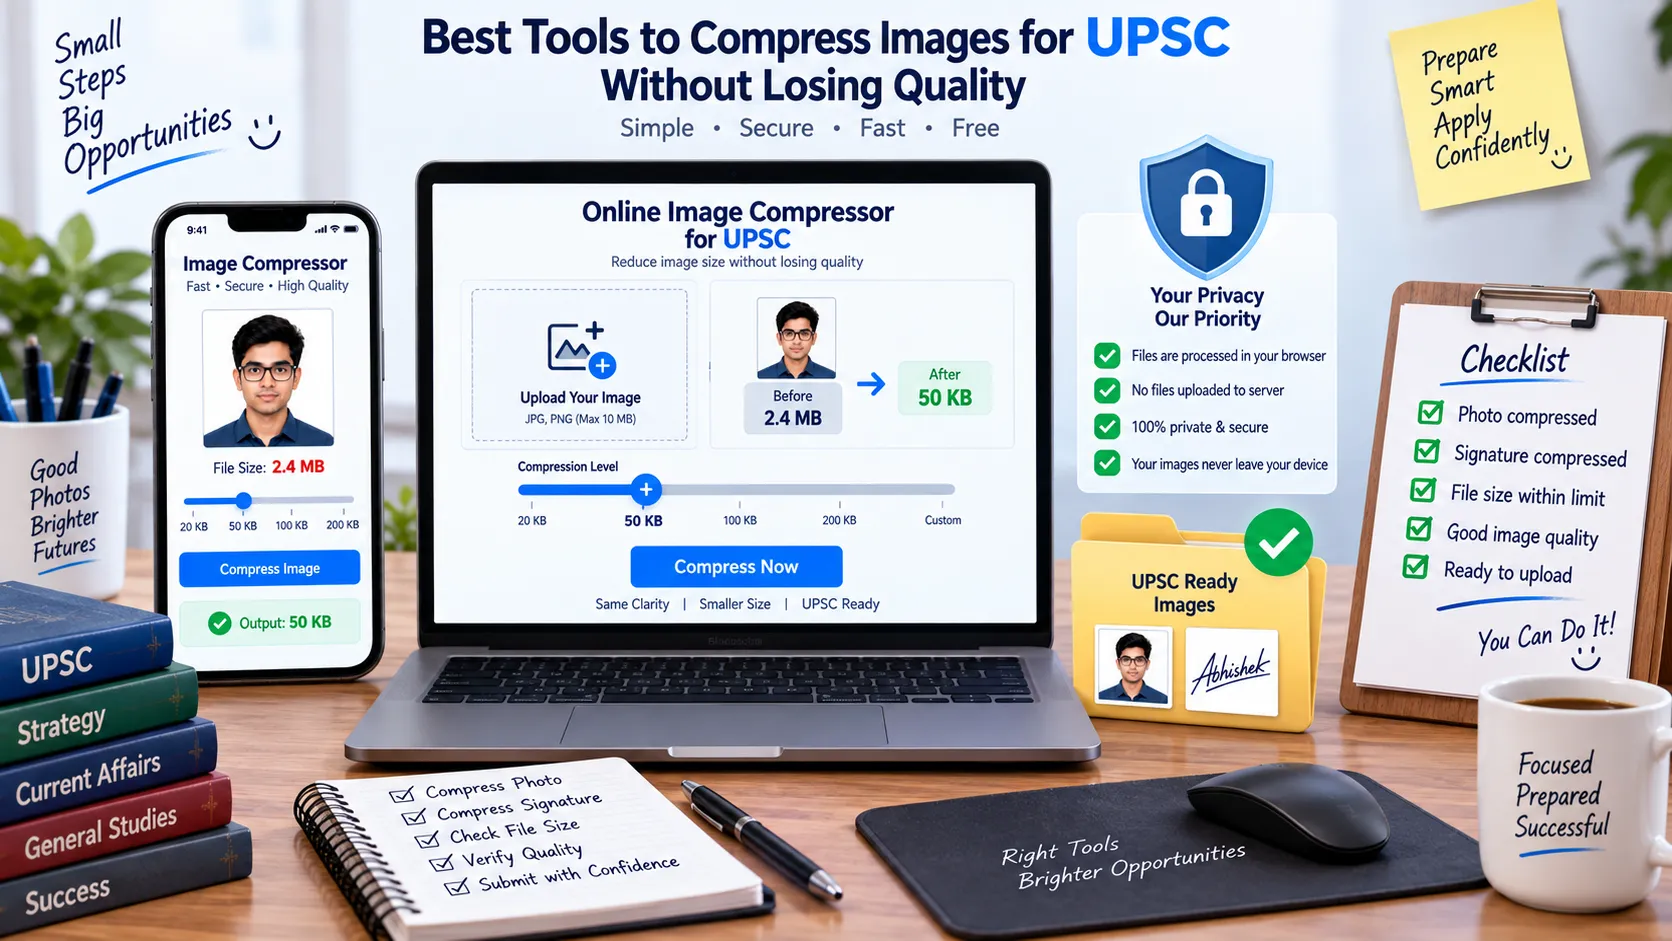
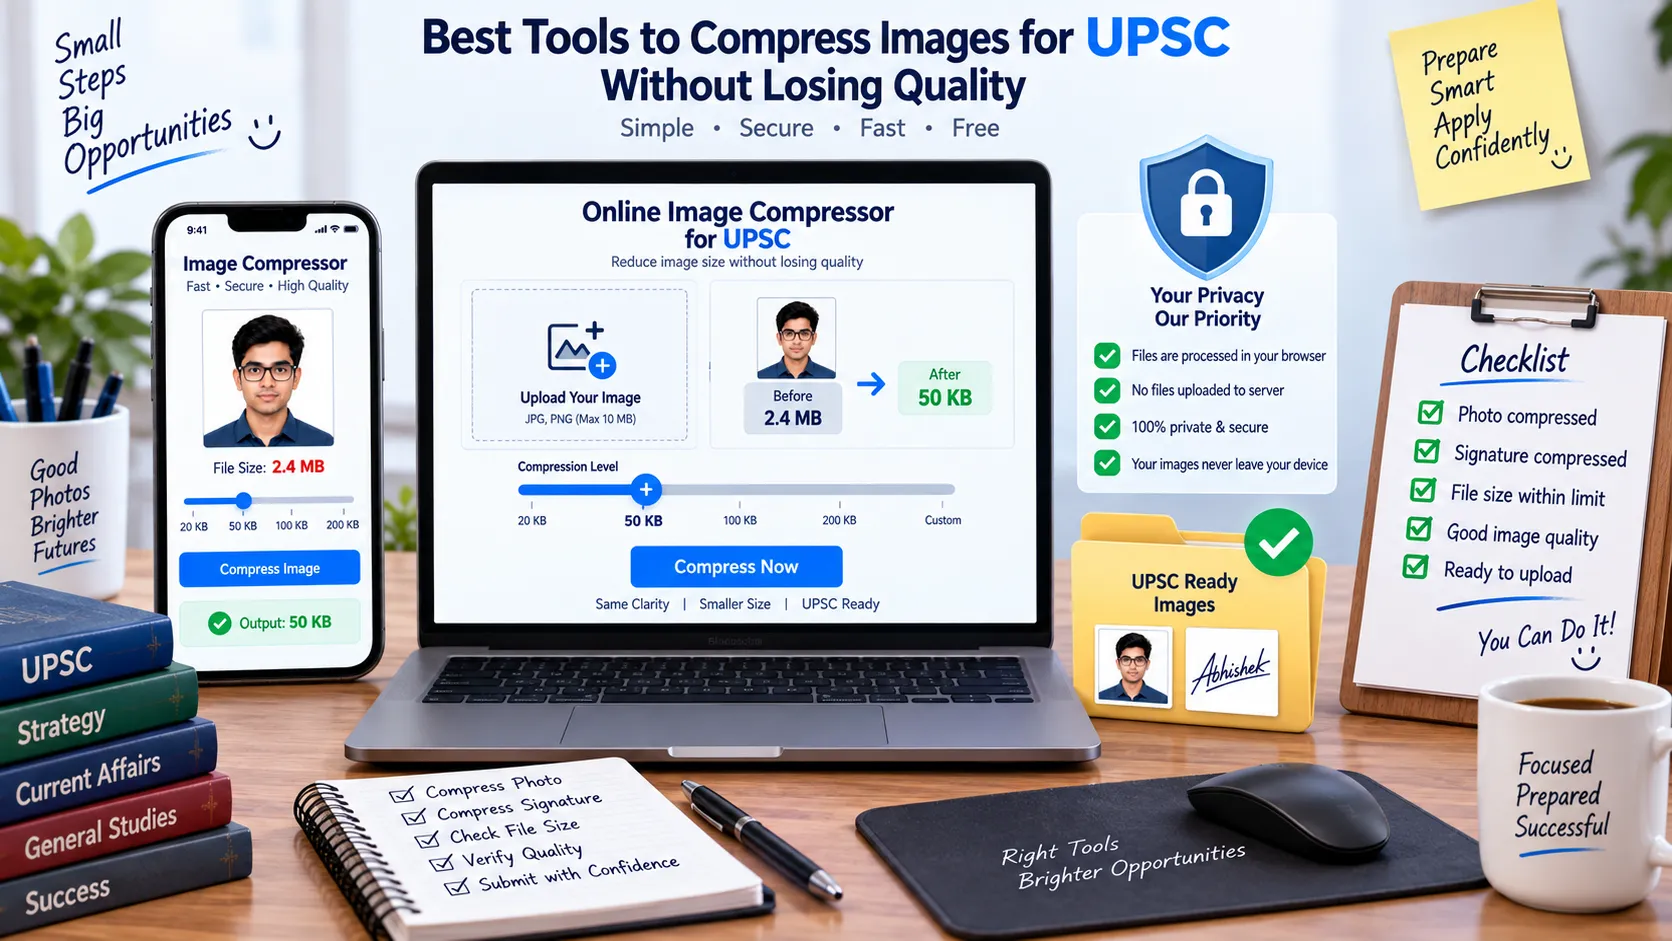
The second stage is the actual compression. Open a reliable online image compressor and choose a tool that lets you set a target file size in KB, since that is the most direct way to meet UPSC limits. Browser-based image platforms such as reducerimage.com are built for this kind of task, offering compression, resizing and format conversion in one place. Upload your cropped JPG, set the target to around 150 KB for the photograph, and let the tool adjust quality automatically. If the tool has separate controls, reduce the pixel dimensions first, for example to a few hundred pixels on the shorter side, and only then lower the quality slider, because resizing reduces file size with far less visible damage than heavy quality loss.
Download the result, and if you are given a choice, keep the output format as JPG. Avoid tools that add watermarks, ask you to install unknown software, or force you to register, since a watermark on your photograph can make it unacceptable for the application.
The third stage is verification, and many aspirants skip it. Check the file size yourself: on Windows, right-click the file and open Properties; on a phone, open the Files app and view the file details. Confirm that the size falls between 20 KB and 200 KB, and preferably close to your target.
Then open the image at full size and look carefully at your face, eyes and the edges of your hair and shoulders. If you see blocky patches or blur, your compression was too strong, so go back to the original and try again with a slightly higher target size.
If the file is still above 200 KB, reduce the pixel dimensions a little more and compress again, always working from the original rather than from an already compressed copy, since repeated compression stacks up damage. Finally, rename the file as "photo" with the .jpg extension, keep a backup copy in a separate folder, and you are ready to upload.
How to Compress Signature for UPSC (Triple Signature Format)
The signature is where more applications go wrong than most aspirants expect, because it needs both correct preparation and correct compression. Take a clean white sheet of paper and a black ink pen, and sign three times, one below the other, leaving enough space between each so that all three are clearly separate and visible. Sign the way you normally do, and make sure it matches the signature you will use on official documents and at the examination centre.
Then scan the sheet or photograph it in bright, even light with the paper lying flat, so there are no shadows, folds or dark corners. A scanner set to around 150 to 200 DPI usually gives enough detail without producing an unnecessarily heavy file. If you use a phone camera, hold it directly above the paper rather than at an angle, since a tilted shot distorts the signatures and creates uneven brightness that makes the compressed file look dirty.
compress image to 200 KB
Once you have the scan, the order of operations matters. First crop the image tightly around the three signatures, removing extra white margins and any scanner borders. Second, resize it to the pixel range mentioned in the current guidelines, which is 350 to 500 pixels for the 2026 cycle, keeping the image proportions natural instead of stretching it. Third, convert it to JPG if it is in another format, and finally compress it until the file falls between 20 KB and 100 KB. Signature images usually compress very well because they are mostly white space, so you will often reach the target without any visible loss.
Converting the scan to greyscale can reduce the size further, but make sure the ink stays clearly black and the strokes do not turn faint or grey. Avoid sharpening filters, which create rough halos around thin pen strokes and add to the file size instead of reducing it.
Certain signature mistakes appear again and again and are worth avoiding. Uploading only one signature when three are required, or uploading four, is a common error. Blue ink, pencil, or a photograph on lined or coloured paper can lead to rejection because the portal expects black ink on a plain white background.
Uploading the image in portrait orientation when the guidelines expect the signatures stacked as described, or rotating the picture sideways, can also create trouble, as can blurry images caused by camera shake. Some aspirants compress so aggressively that the file drops below 20 KB and the strokes break into pixels.
Best Tools and Tips to Compress Images for UPSC Without Losing Quality
You have three broad choices when it comes to tools: online compressors, built-in desktop software, and mobile apps. Online tools are the fastest option because they work inside your browser and often let you type the exact target size. Desktop options such as the Photos app or Paint on Windows, Preview on Mac, or free editors like IrfanView allow you to resize and export at a chosen quality level, though they may need a few tries to reach an exact KB value.
Mobile apps are convenient for aspirants who only have a phone, but they vary widely in quality and some are full of advertisements. Whichever route you choose, remember that your photograph and signature are personal identity data.
compress signature to 100 KB
Prefer well-known, transparent tools, avoid sites that ask for unnecessary permissions or personal details, and delete any downloaded copies you no longer need. The right tool should offer target-size control, keep the output in JPG, never add a watermark, and produce a sharp result on the first or second attempt.
Compression is not limited to the photograph and signature. The application may also ask you to upload a photo ID and other supporting documents, usually as JPG or PDF files with their own size limits, so read the instructions on the upload page carefully.
For documents, scan at around 150 to 200 DPI, choose black-and-white or greyscale mode for text pages instead of full colour, and combine multiple pages into one PDF where the form allows it. A PDF compressor can then bring the file down to the required size, but be careful not to compress so hard that text becomes unreadable or stamps and seals disappear.
A good test is to open the compressed PDF at normal zoom and read a few small lines aloud; if you struggle, the file is over-compressed. The same principle you follow when learning how to compress for UPSC photographs applies here as well: reduce the file until it meets the limit, but stop before quality suffers.
Finally, build a simple routine so that technical problems never affect your application. Prepare your photograph, signature and documents at least a week before the deadline, since the portal often slows down or shows errors in the last days when thousands of candidates upload at the same time. Keep the original high-quality files in one folder and the final compressed files, correctly named, in another. Use a laptop or desktop with a stable internet connection for the actual upload if possible, and always preview the images shown on the portal before you submit.
Remember that the photograph you upload will appear on your admit card and be checked at the examination centre, so it must look like you on exam day. After submission, download and save the confirmation and print a copy. A calm, early and well-organised approach to how to compress for UPSC removes one of the most avoidable sources of stress in the entire application process.
Conclusion
Knowing how to compress for UPSC comes down to a few clear ideas. First, learn the current limits: a JPG photograph between 20 KB and 200 KB, and a JPG triple signature between 20 KB and 100 KB within the specified pixel range, always confirmed against the latest official notification. Second, start with a clean, well-lit original, then resize before you compress, aim for the middle of the allowed range, and never fall below the minimum size.
UPSC application photo upload
Third, verify every file for size, clarity and correct naming before you upload, and keep your originals as backup. Use a trustworthy compression tool that gives you control over the target size, avoid outdated advice from older years, and finish everything well before the deadline. With this process, a technical formality becomes a five-minute task, and you can focus your energy on the preparation that actually decides your result. Good luck with your application and your UPSC journey.
Frequently Asked Questions (FAQs)
What is the photo size for the UPSC application form?
As per the 2026 guidelines, the photograph should be a colour JPG file between 20 KB and 200 KB, with a plain white background and the face covering about three-fourths of the frame. Since limits have changed in previous years, always confirm the figures on the official UPSC portal before uploading.
What is the signature size for UPSC?
The signature image should be a JPG between 20 KB and 100 KB, in black ink on white paper, with pixel dimensions in the 350 to 500 range as per current guidance. It is required in the triple-signature format, with three signatures one below the other in a single image.
How do I compress a photo to 200 KB or less for UPSC?
Crop the photo properly, then use an image compressor that lets you set a target size in KB. Reduce the pixel dimensions first if needed, then lower the quality, and check the final size in your file properties. Always compress from the original file, not from a copy that has already been compressed.
Can I upload a photo below 20 KB?
No. UPSC sets a minimum as well as a maximum, and files under 20 KB can be rejected. Over-compressed images also look blurry, which can create problems in identity verification. Aim for a comfortable size such as 100 to 150 KB for the photograph.
Why is my compressed photo rejected on the UPSC portal?
Common reasons include a file size outside the allowed range, a wrong format such as PNG or HEIC, a cluttered or non-white background, a face that covers too little of the frame, or an unclear image. Check each requirement one by one against the current guidelines and re-create the file from the original.
Which format is accepted for UPSC photo and signature uploads?
JPG is the required format for both the photograph and the signature. If your file is in PNG, HEIC or any other format, convert it to JPG before compressing and uploading, and save it with the .jpg extension.
How should I compress documents or a photo ID PDF for UPSC?
Scan documents at around 150 to 200 DPI in greyscale or black-and-white, merge pages if allowed, and use a PDF compressor to reach the required size. Read the size and format instructions on the upload page, and make sure the compressed text is still fully readable.
Can I edit my photo or signature after submitting the UPSC form?
Generally, no. There is usually no correction facility for images once the application is submitted, so check every upload carefully before you press submit. If a serious error remains, refer to the official notification for any correction window or rules that may apply.
Is it safe to use free online tools to compress my UPSC photo?
Many free tools are safe, but your photo is personal data, so choose transparent, well-known platforms, avoid sites that ask for unnecessary permissions, and delete downloaded copies you no longer need. Also avoid any tool that adds a watermark to your image.
Share this guide
P
Pushpam Abhishek
Founder & Lead Developer · ReducerImage
Founder of ReducerImage based in Muzaffarpur, Bihar. Architect of the 100% client-side privacy-first image compression and format optimization engine with zero cloud uploads.

Reader Comments (0)